


✦ Brew Siphon Like a Pro ✦
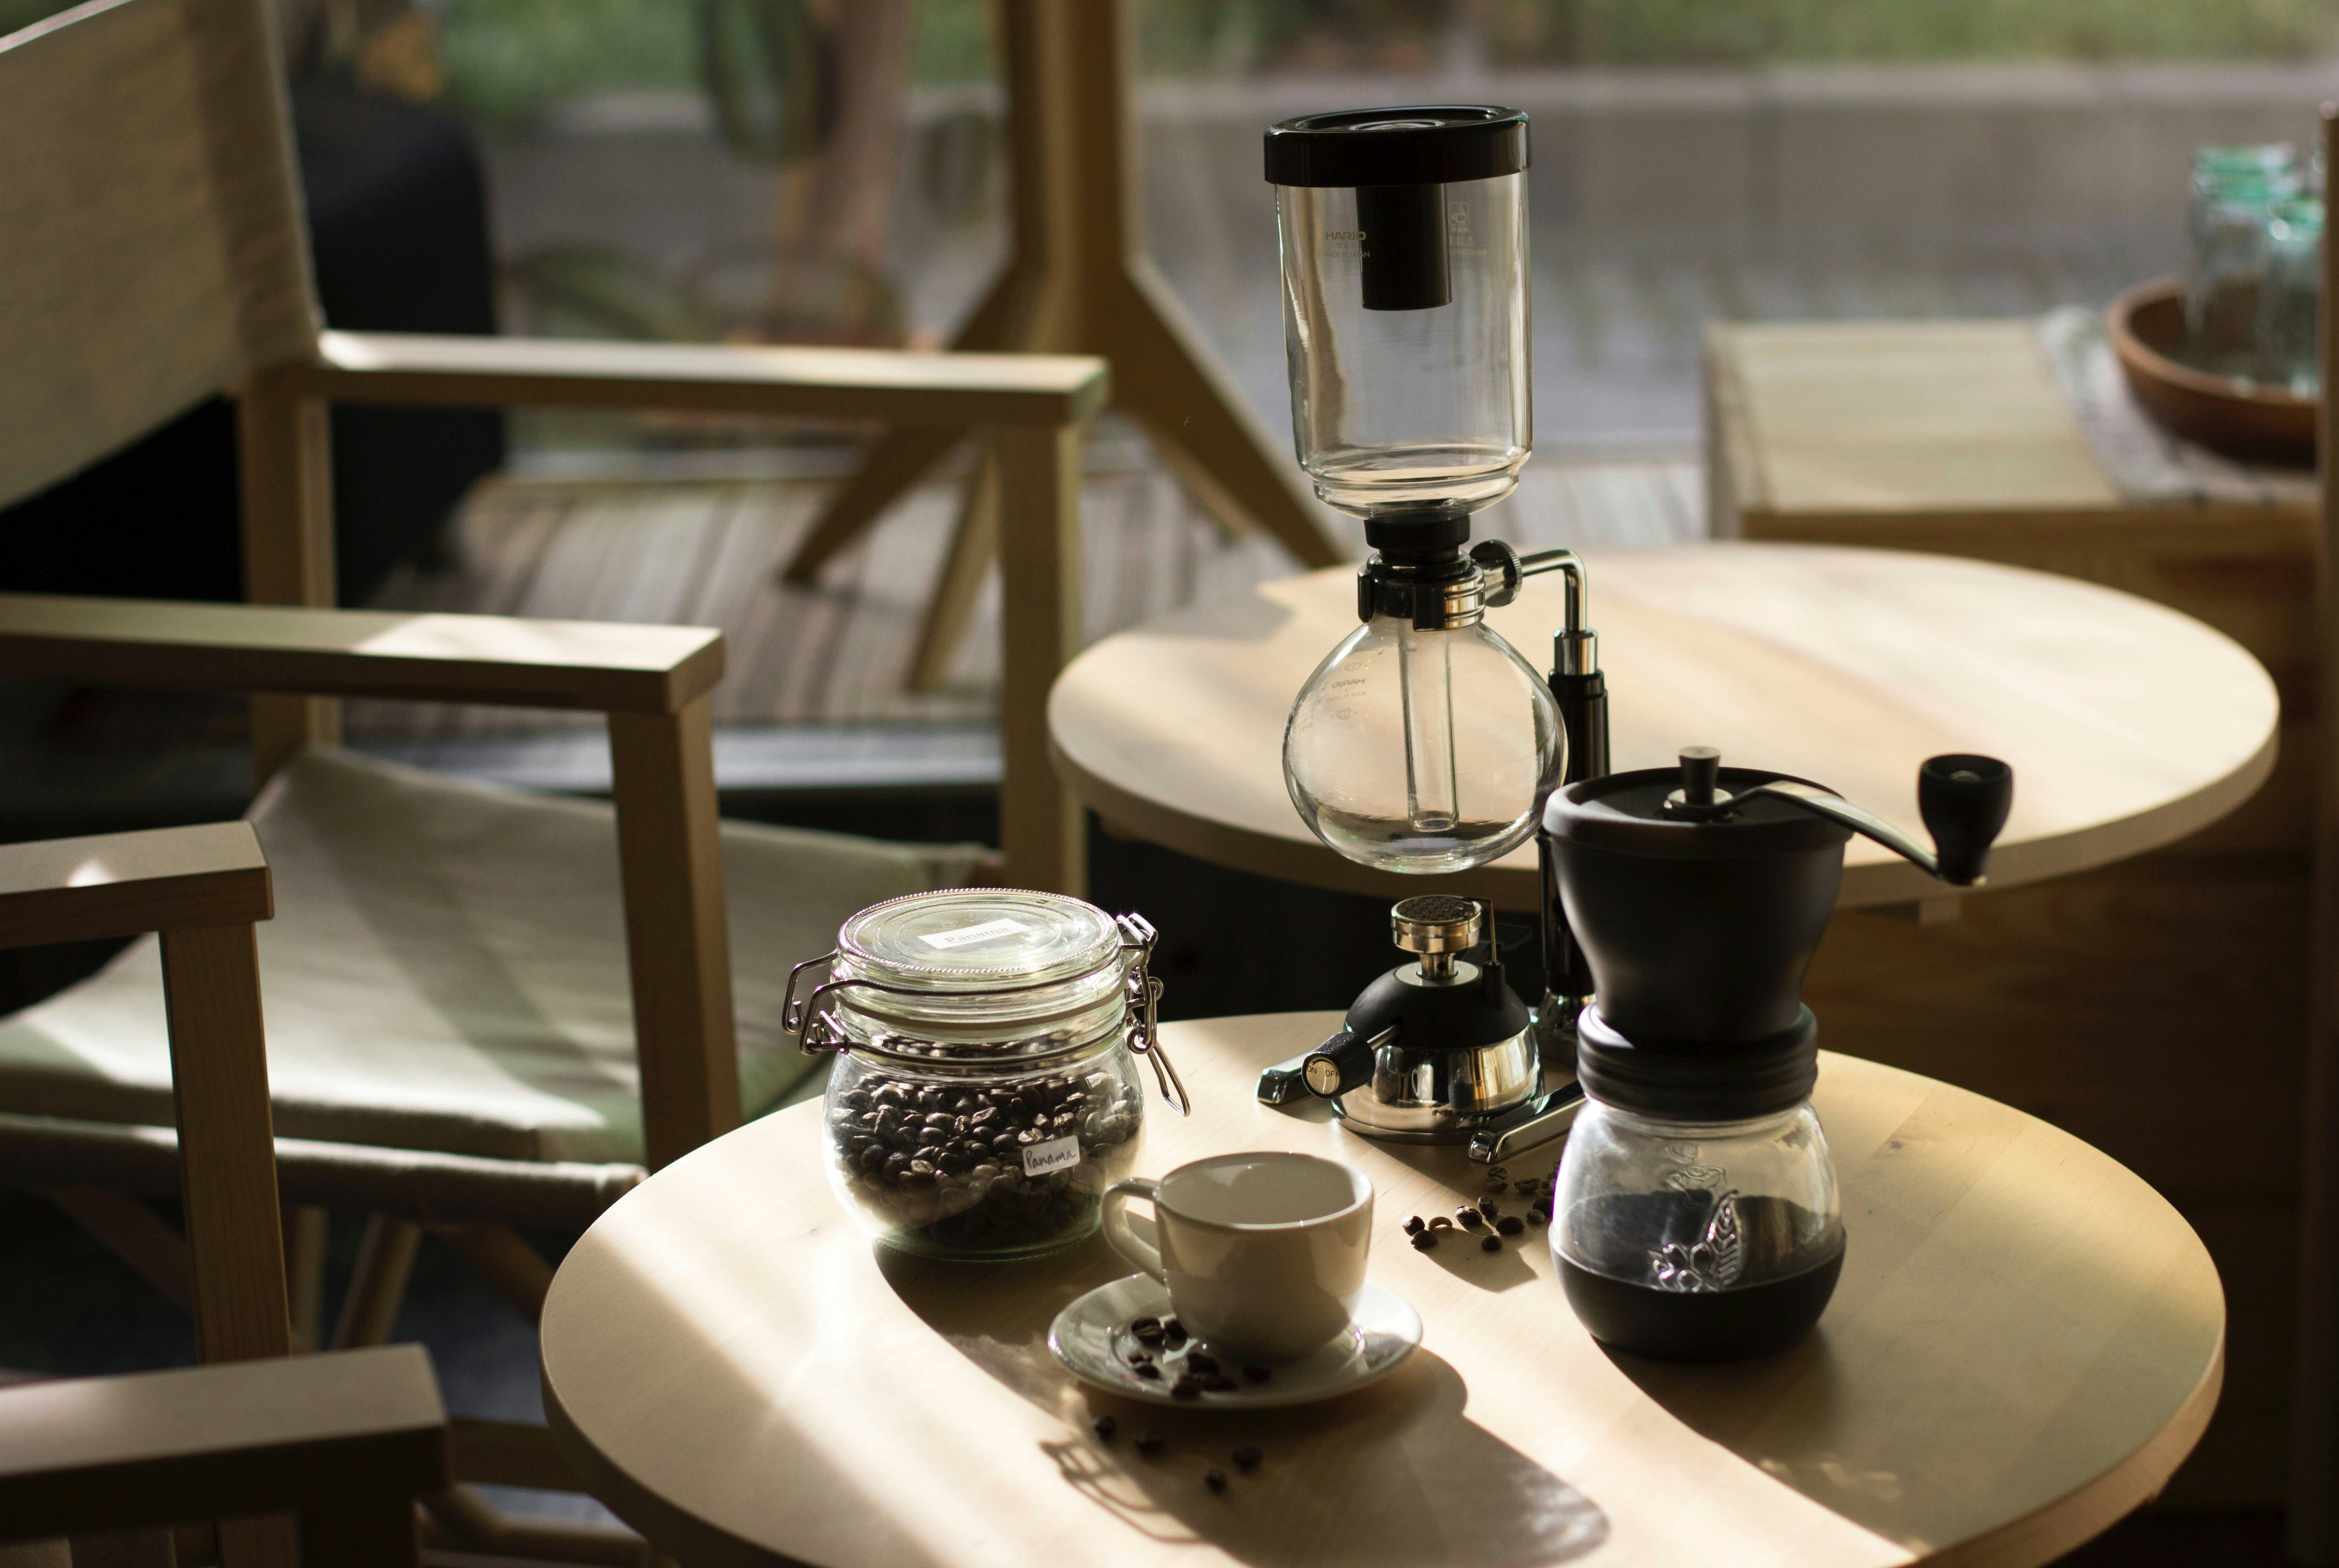
How To Brew With a Siphon
BREW COFFEE WITH A BIT OF THEATRICS

The Siphon Lowdown
Also known as a vacuum pot, the siphon coffee maker is part science experiment, part brew method—and the results are worth the effort. This method produces a clean, full-bodied cup with heightened clarity and aroma. It uses vapor pressure and vacuum suction to brew, giving you incredible control over extraction and a dramatic, mesmerizing process.
Siphon Fundamentals

Equipment
- Siphon coffee brewer (vacuum pot)
- Heat source (alcohol burner or halogen heater)
- Filter (cloth or metal, depending on your siphon type)
- Scale (0.1g accuracy recommended)
- Timer
- Stirring paddle or spoon
OPTIONAL:
- Burr grinder (if grinding whole beans)

Brew Ratio
- Mild: 1:16 coffee-to-water ratio
- Average: 1:14 coffee-to-water ratio
- Strong: 1:12 coffee-to-water ratio
- Robust: 1:11 coffee-to-water ratio
NOTE: When it comes to water, 1 milliliter (mL) = 1 gram (g)—so measuring by volume or weight will give you the same result!

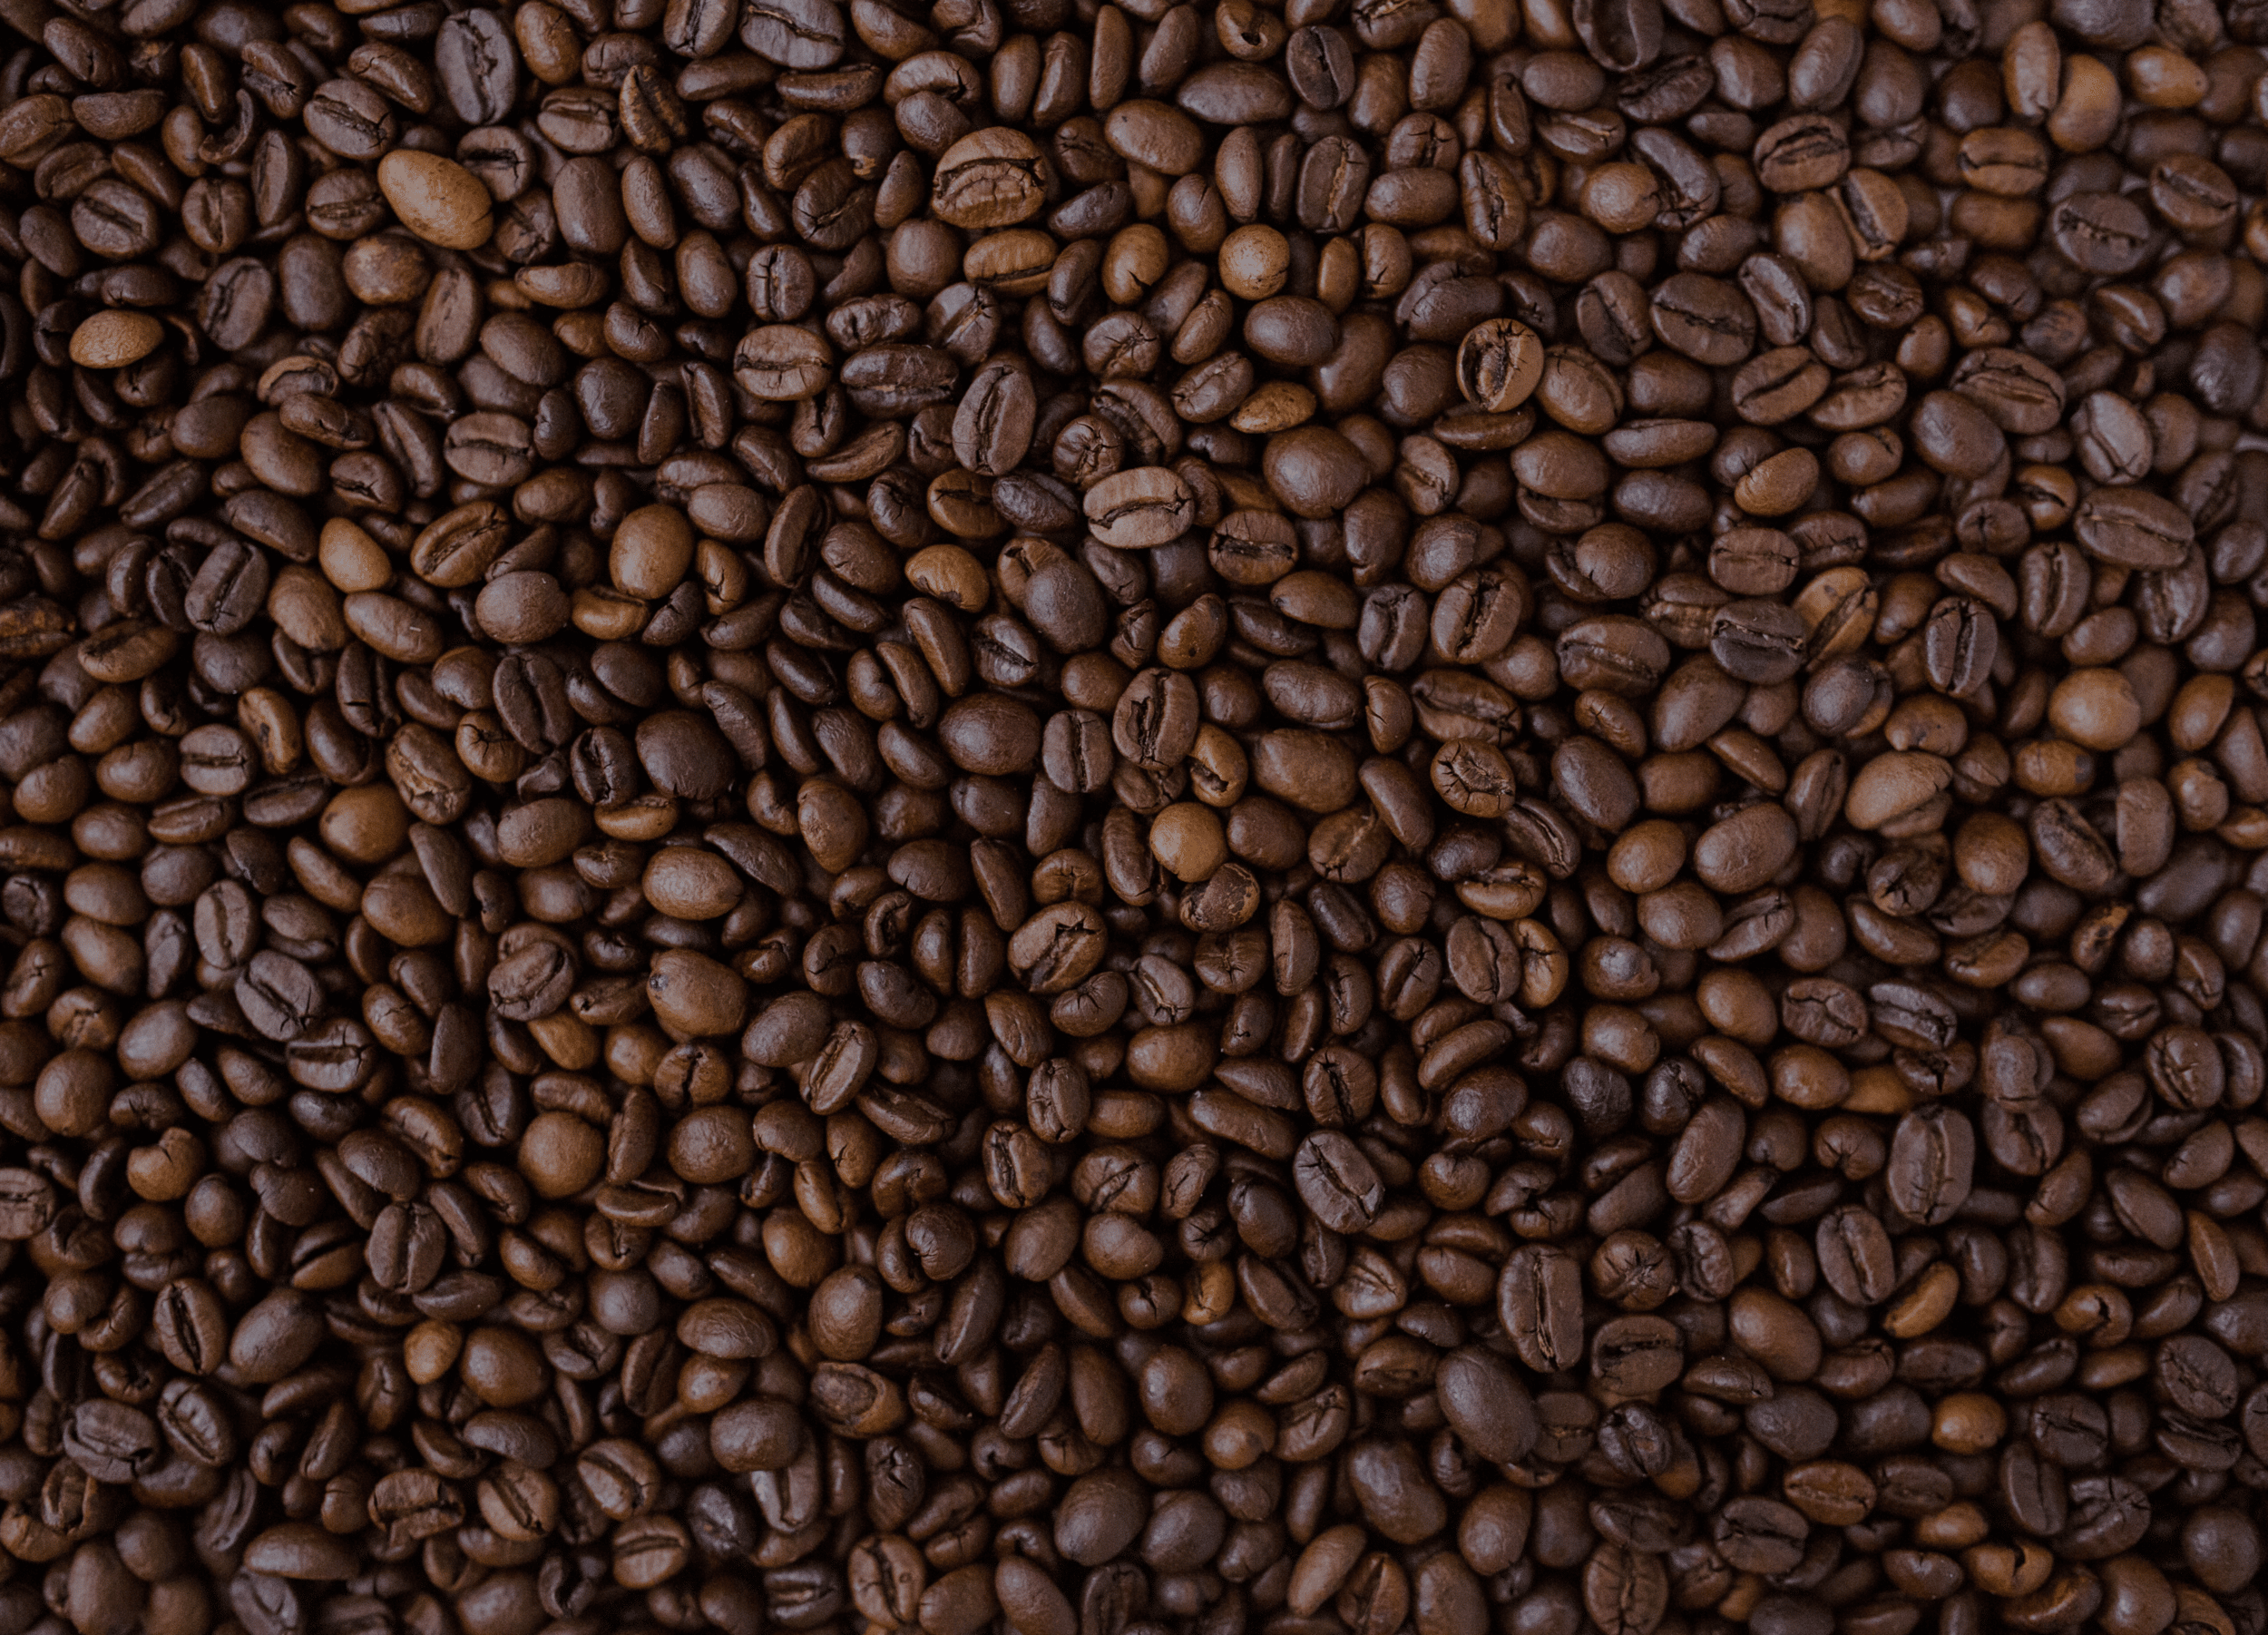
Grind Size
- Ideal Grind: Medium-fine ground (similar to table salt)
- Too fine will clog the filter; too coarse will underextract and result in a weak brew

Water Temp
- Ideal Range: 195°F to 205°F (90.5°C to 96°C)
- The boil in the lower chamber will reach this naturally
Step #1
Set Up & Preheat
Start with proper setup and a clean, secure seal for your brewer.
Substeps:
- GRIND BEANS (IF APPLICABLE): If you're grinding at home, use a burr grinder set to a medium-fine setting. The texture should resemble table salt. If using pre-ground coffee, ensure it’s labeled medium grind for siphon brewing.
- ASSEMBLE THE FILTER: Secure the filter inside the upper chamber according to your siphon's design (usually hooked at the base).
- ADD WATER TO BOTTOM CHAMBER: Use filtered water and fill according to your brew ratio.
- PLACE ON HEAT SOURCE: Set the lower chamber over your burner and turn on the heat.
Useful Tips:
- Use a stable, non-flammable surface for safety.
- Preheat the water slightly to speed up the process.
- Always check for a good seal to ensure vacuum pressure works properly.
- Cloth filters provide more body; metal filters yield more clarity.
Relevant FAQs
Can I use an electric stove?
Only if your siphon brewer is rated safe for stovetop use—most require a separate burner.
Why does water bubble up before boiling?
That’s normal—it’s part of vapor pressure building.
Can I reuse the cloth filter?
Yes! Rinse it thoroughly and store it in water in the fridge to prevent odors.
Step #2
Brew & Stir
Once the magic starts, you’ll brew directly in the upper chamber.
Substeps:
- WATCH WATER RISE: As the water heats, it will rise into the upper chamber.
- ADD GROUND COFFEE: Once most of the water has risen, add your coffee.
- START TIMER & STIR: Begin timing and stir gently to saturate all grounds.
- MAINTAIN GENTLE HEAT: Adjust flame so water doesn’t overboil.
Useful Tips:
- Don’t stir too aggressively—just enough to evenly wet the grounds.
- Aim for a 1–1.5 minute brew time in the upper chamber.
- Use a paddle or spoon with care to avoid breaking the glass.
- Keep the flame consistent—don’t blast it!
Relevant FAQs
What if the water doesn't rise?
Check your seal, heat intensity, and water level—one may be off.
Can I pre-add the coffee to the top?
It’s not ideal—wait for the water to rise first for more even saturation.
Can I adjust the strength?
Yes—alter your coffee dose or brew time to fine-tune body and clarity.
Step #3
Remove Heat & Let It Drop
This is where vacuum pressure takes over and finishes your brew.
Substeps:
- REMOVE FROM HEAT: Once your brew time is up, turn off or remove the heat source.
- LET COFFEE DRAW DOWN: Coffee will begin to siphon back into the lower chamber.
- WAIT FOR COMPLETE DRAINAGE: Once all liquid has returned, you’re done.
Useful Tips:
- You’ll hear a gurgle or hiss when it’s nearly done.
- Don’t shake or disturb the brewer during drawdown.
- Let it fully finish before disassembling.
- The remaining grounds in the top should form a neat dome.
Relevant FAQs
Why is it drawing down slowly?
Check your grind—too fine can clog the filter.
Can I speed up the process?
It’s best not to—let the vacuum do the work naturally.
Why does my coffee taste flat?
Check your dose, grind size, and brew time—they all affect clarity.
Step #4
Serve & Clean
Savor the clarity—and take care of your gear so it lasts.
Substeps:
- SERVE IMMEDIATELY: Swirl and pour from the lower chamber into cups.
- DISASSEMBLE CAREFULLY: Let everything cool slightly, then take it apart.
- RINSE & DRY: Rinse with warm water and dry thoroughly.
Useful Tips:
- Serve in pre-warmed cups to retain temperature.
- Clean cloth filters gently and store in water in fridge.
- Don’t leave coffee in the pot—it continues to extract.
- Use a soft sponge for glass parts.
Relevant FAQs
Can I put it in the dishwasher?
Not recommended—hand wash only to preserve glass and seals.
How do I remove stuck grounds?
Use a rinse of warm water and shake gently—never poke glass parts.
Can I reuse the filter immediately?
Yes, just rinse thoroughly and keep it moist until next use.
Handy Tools


Perfect Picks for Siphon