


✦ Brew Moka Pot Like a Pro ✦
How To Brew with a Moka Pot
BREW RICH STOVETOP COFFEE AT HOME

The Moka Pot Lowdown
The Moka Pot—also known as a stovetop espresso maker—is a classic Italian brewer that delivers strong, espresso-style coffee without the need for fancy equipment. It's budget-friendly, compact, and when done right, produces a bold, flavorful cup. This guide walks you through every step so you can brew stovetop coffee with confidence.
Moka Pot Fundamentals

Equipment
- Moka pot (any size)
- Heat source (gas, electric, or sand heater)
- Spoon or stirrer
- Cup or small mug
OPTIONAL:
- Burr grinder (if grinding whole beans)
- Scale (for added precision)
- Kettle (for preheating water)

Brew Ratio
- Mild: 1:9 coffee-to-water ratio
- Average: 1:8 coffee-to-water ratio
- Strong: 1:7 coffee-to-water ratio
- Robust: 1:6 coffee-to-water ratio
- Most Moka pots fill the bottom chamber to a fixed level—simply fill the filter basket to the top with ground coffee!
NOTE: When it comes to water, 1 milliliter (mL) = 1 gram (g)—so measuring by volume or weight will give you the same result!

Grind Size
- Ideal Grind: Fine to medium-fine (finer than drip, but not as fine as espresso)
- Texture: Between table salt and flour
- Too fine will overextract and cause bitterness; too coarse will underextract and result in a weak brew

Water Temp
- Use hot water (not boiling) in the bottom chamber to speed up brew time and avoid a metallic taste
Step #1
Prep & Fill
A smooth Moka brew starts with clean gear and properly filled chambers.
Substeps:
- DISASSEMBLE THE MOKA POT: Unscrew the top from the bottom and remove the filter basket.
- FILL WITH HOT WATER: Fill the bottom chamber with hot (not boiling) water up to the pressure release valve.
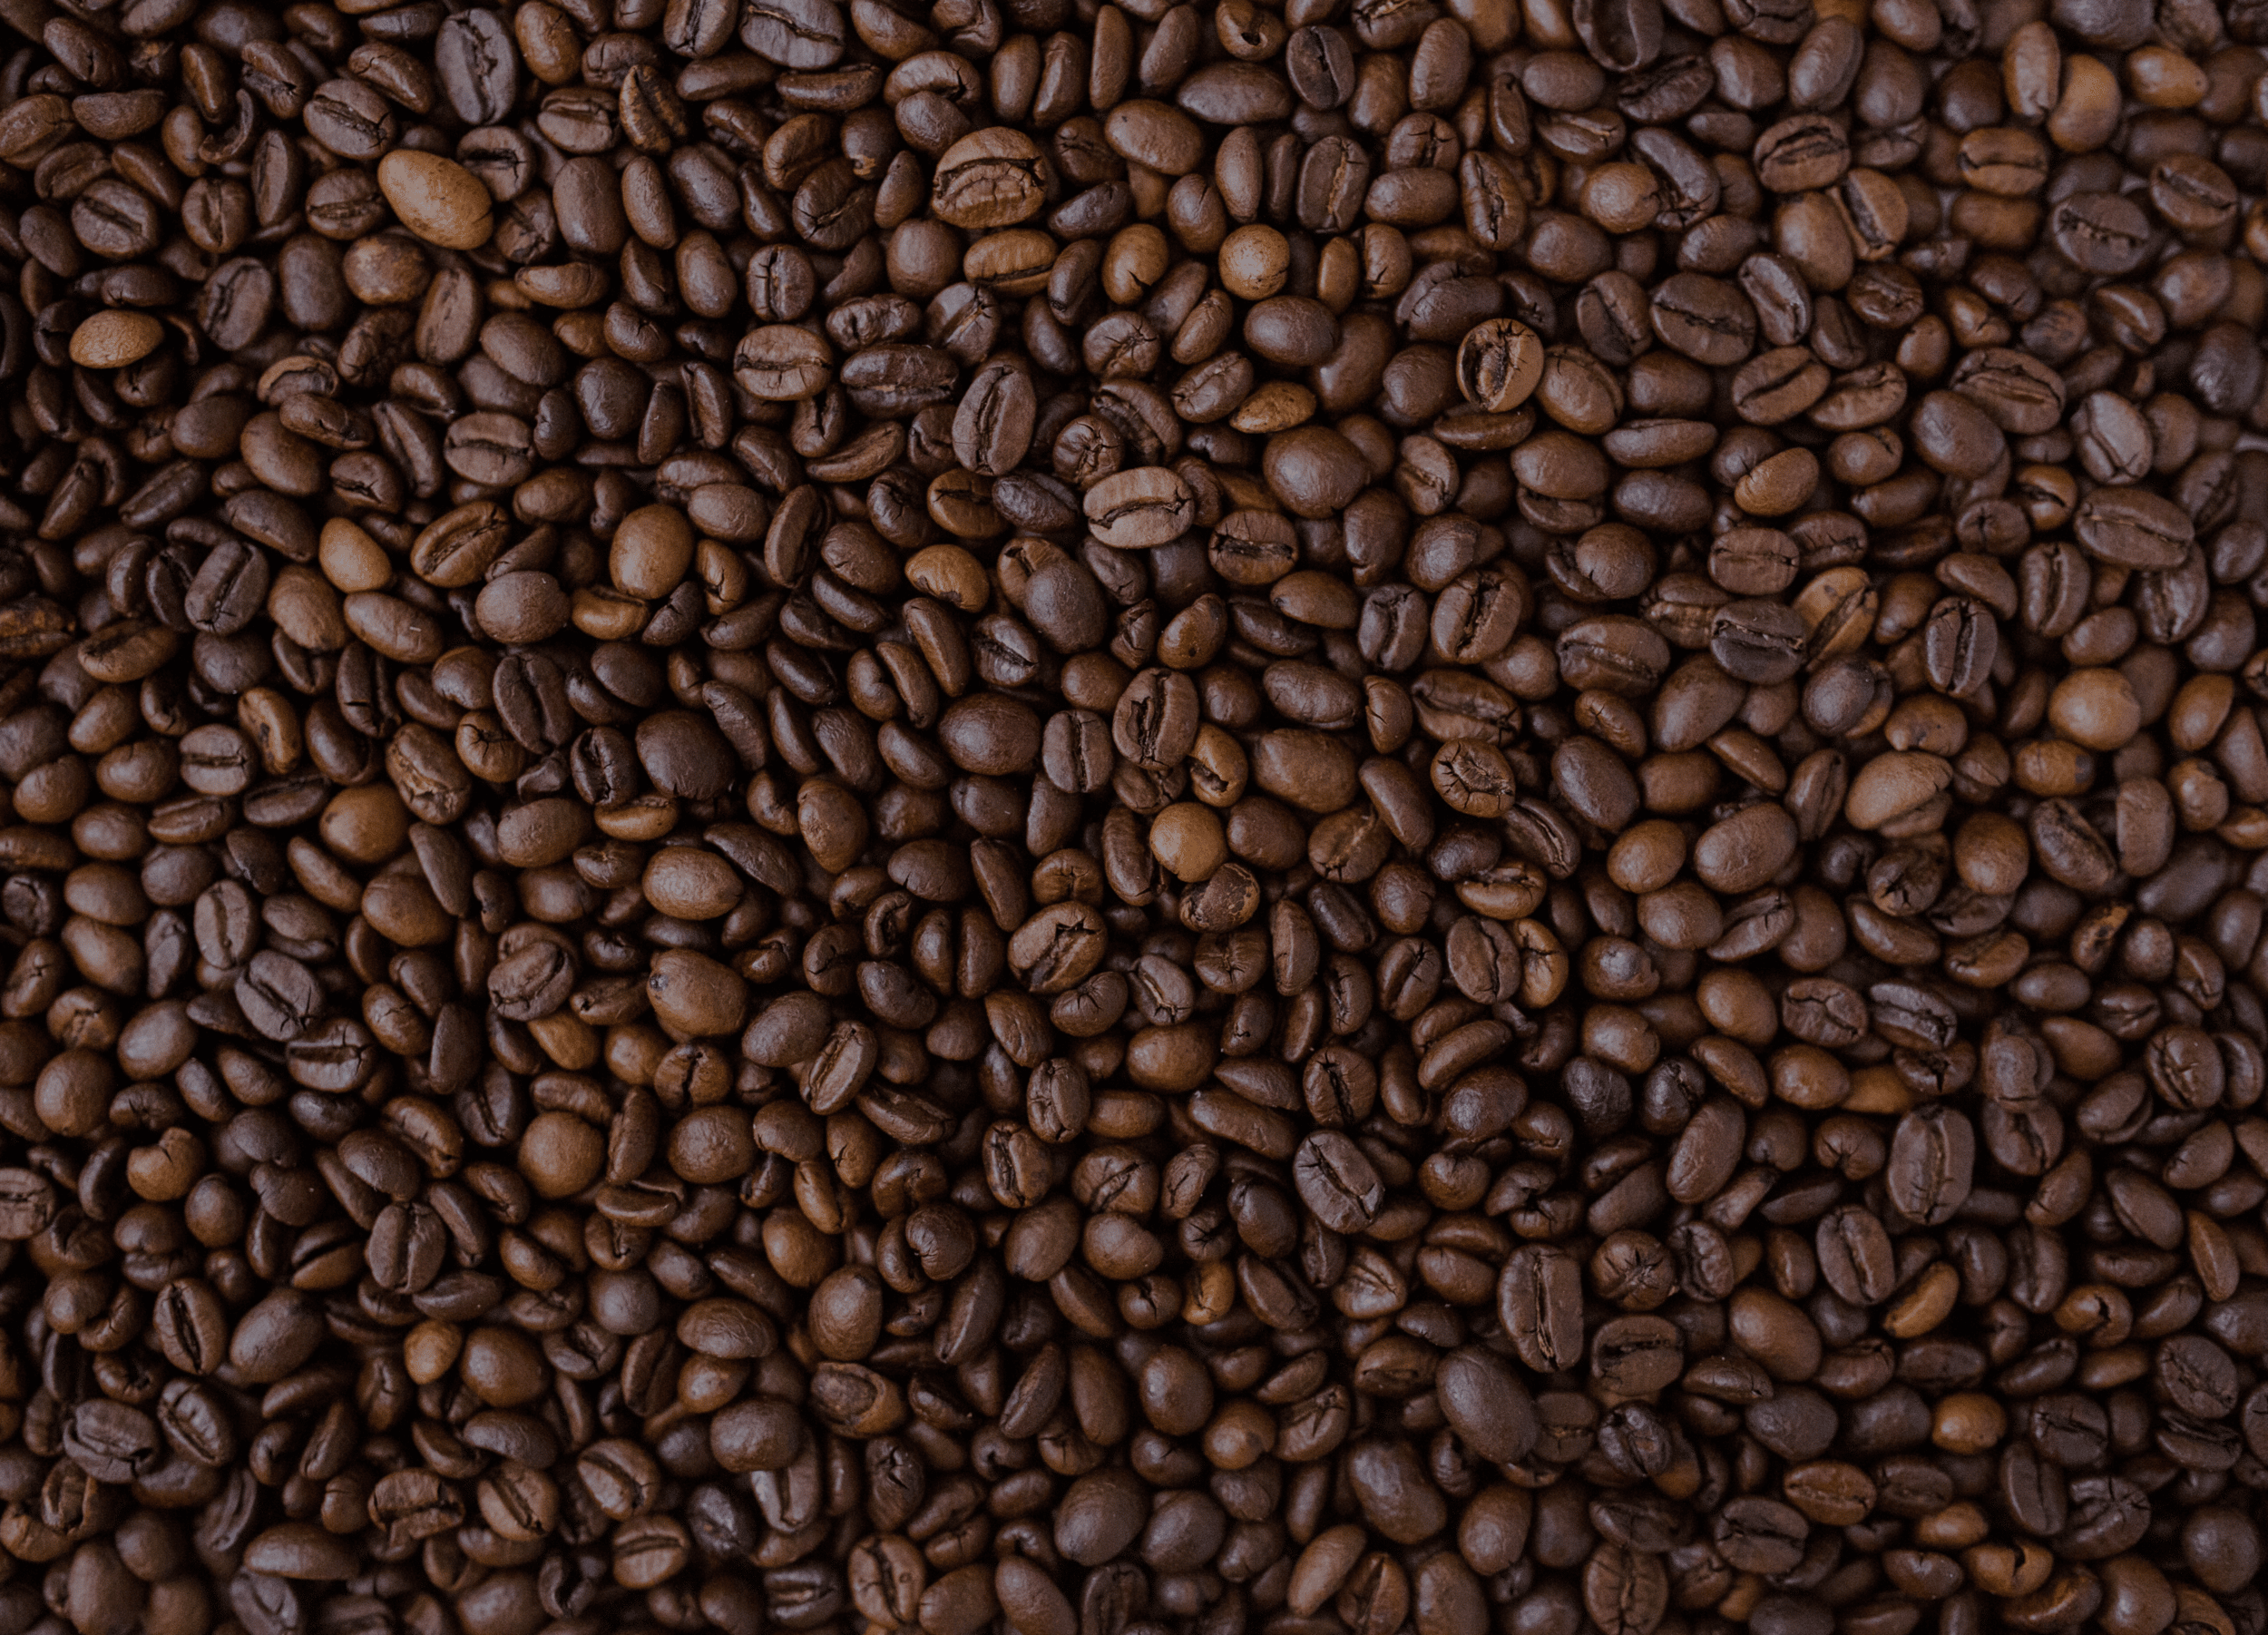
- GRIND BEANS (IF APPLICABLE): If you're grinding at home, use a burr grinder set to a medium-fine setting. The texture should resemble something between table salt and flour. If using pre-ground coffee, ensure it’s labeled for moka pots or medium-fine brewing.
- ADD GROUNDS TO FILTER BASKET: Fill the basket with coffee grounds, level them off without tamping.
Useful Tips:
- Don’t fill water above the valve—it’s a safety feature.
- Preheating the water shortens brew time and reduces bitterness.
- Avoid tamping the grounds—it can create too much pressure.
- Use filtered water to reduce scale buildup.
Relevant FAQs
Why use hot water instead of cold?
Hot water speeds up brewing and avoids overheating the grounds, which can lead to bitterness.
Should I tamp the coffee?
No—just level it off. Tamping increases pressure and may clog the Moka pot.
Can I use pre-ground coffee?
Yes, but choose one labeled for moka or medium-fine. Espresso grind is usually too fine.
Step #2
Assemble & Heat
It’s time to seal and brew. Keep an eye (and ear) on your pot!
Substeps:
- ASSEMBLE THE POT: Place the filter basket into the bottom chamber, then screw on the top securely.
- PLACE ON STOVETOP: Put the pot on medium heat with the lid open so you can monitor the brew.
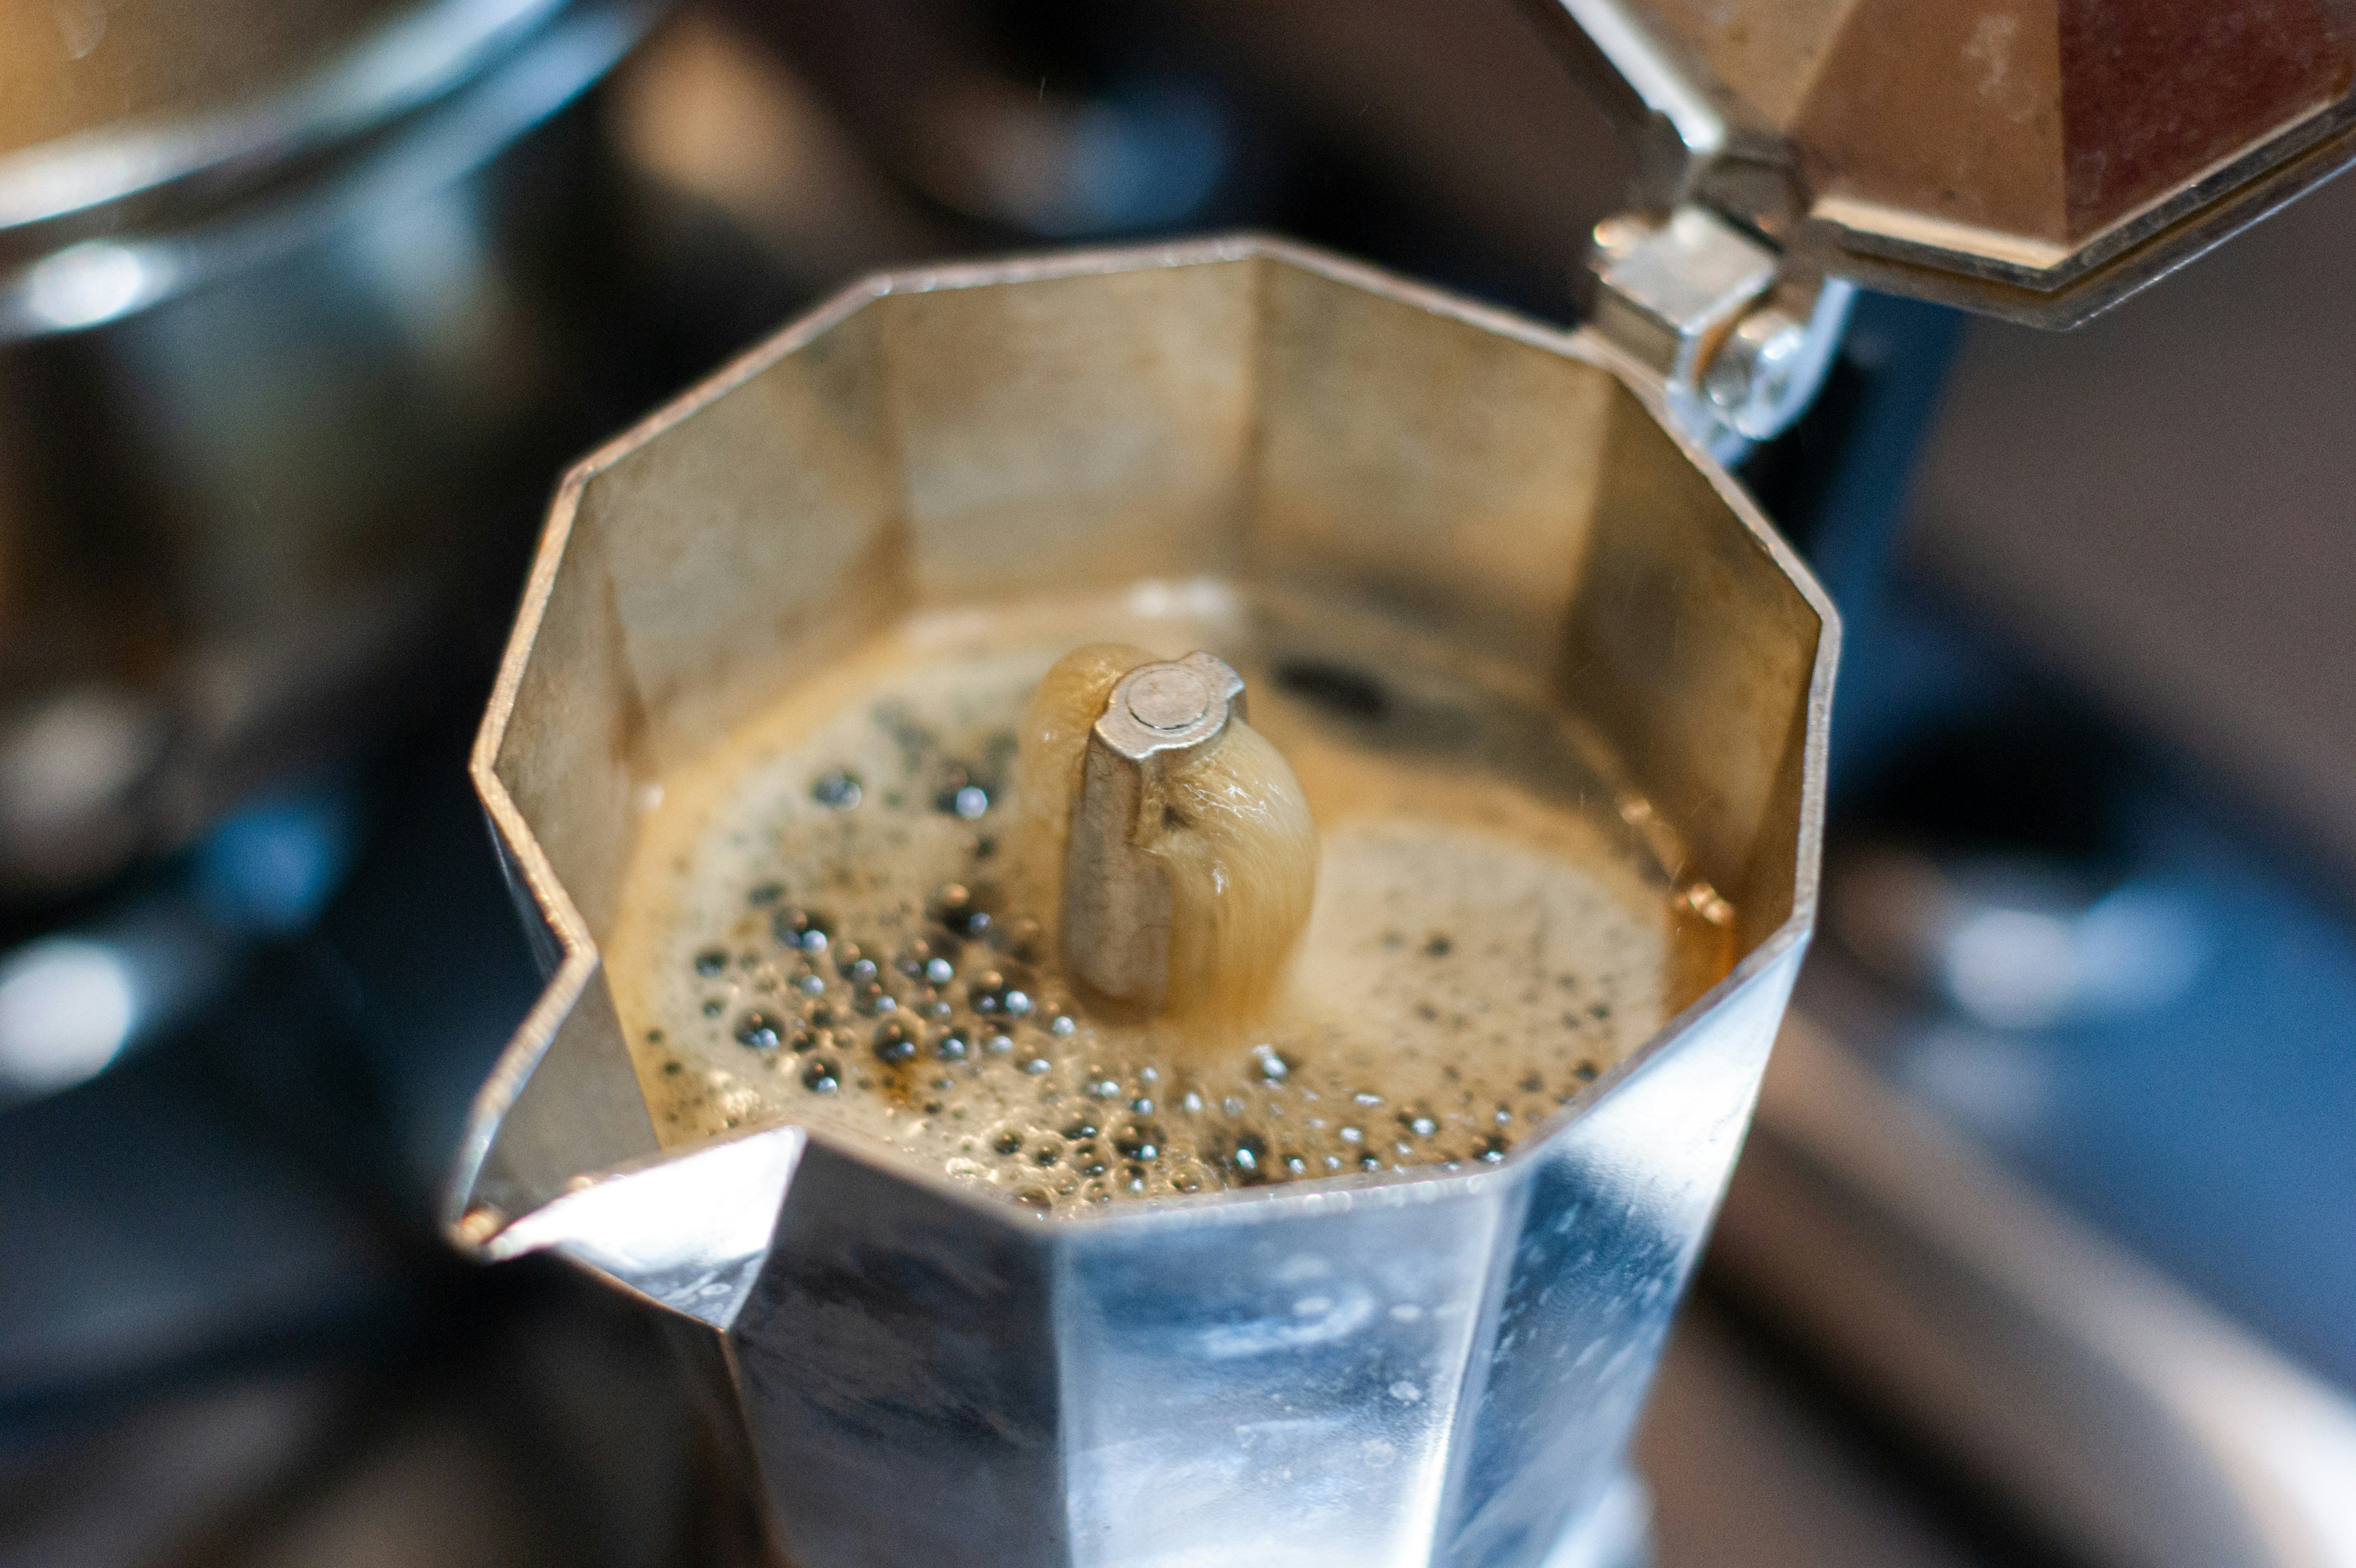
- WAIT AND WATCH: Coffee will begin to bubble out of the top spout as it brews.
Useful Tips:
- Don’t overtighten the pot—it should be snug but not forced.
- Use medium heat for better control and flavor.
- Brew with the lid open so you can monitor the flow.
- If the coffee spurts or sputters violently, the heat is too high.
Relevant FAQs
How do I know when it’s done brewing?
You’ll hear a hissing or gurgling sound. Once the upper chamber fills and the sound changes, remove from heat.
What if it’s brewing too fast or too slow?
Adjust your grind. Too fast = too coarse. Too slow = too fine or overfilled.
Can I use induction stovetops?
Only if your Moka pot is induction-compatible (usually marked on the base).
Step #3
Cool & Serve
Timing matters—removing the pot from heat prevents bitterness.
Substeps:
- REMOVE FROM HEAT: As soon as the brew begins to sputter or hiss, take the pot off the stove.
- COOL THE BASE: Run the bottom chamber under cool water to stop extraction.
- SERVE AND ENJOY: Pour into your mug and enjoy as is or mix with hot water or milk.
Useful Tips:
- Cooling the base prevents over-extraction.
- For a smoother cup, stir the coffee before pouring.
- Great as a base for lattes or Americanos.
- Avoid leaving coffee in the pot—it gets bitter fast.
Relevant FAQs
Why cool the bottom with water?
It stops the brewing process and prevents over-extraction, which can make the coffee taste burnt.
Can I dilute the Moka coffee?
Yes! It’s strong—add hot water for an Americano-style drink or steamed milk for a faux latte.
How do I get a sweeter cup?
Use a slightly coarser grind, lower heat, and remove from heat promptly.
Step #4
Clean & Maintain
Regular cleaning keeps your Moka pot in top shape and your coffee tasting fresh.
Substeps:
- DISASSEMBLE CAREFULLY: Let the pot cool before taking it apart.
- RINSE WITH WARM WATER: Clean each part under warm water—no soap needed.
- DRY COMPLETELY: Let parts air dry fully before reassembling.
Useful Tips:
- Avoid soap—it can affect the flavor and damage the seal.
- Don’t leave spent grounds in the basket—clean promptly.
- Replace the rubber gasket and filter when they show signs of wear.
- Store the pot disassembled to prevent mustiness.
Relevant FAQs
Can I use soap to clean my Moka pot?
It’s best to rinse with water only. Soap can leave residues that affect flavor.
How often should I replace the gasket?
Every few months if used daily, or whenever you notice leaks or poor pressure.
Can I put it in the dishwasher?
Not recommended—hand washing is best to preserve the finish and seal.
Handy Tools


Perfect Picks for Moka Pot