✦ Brew Pour-Over Coffee Like a Pro ✦
The Pour-Over Lowdown
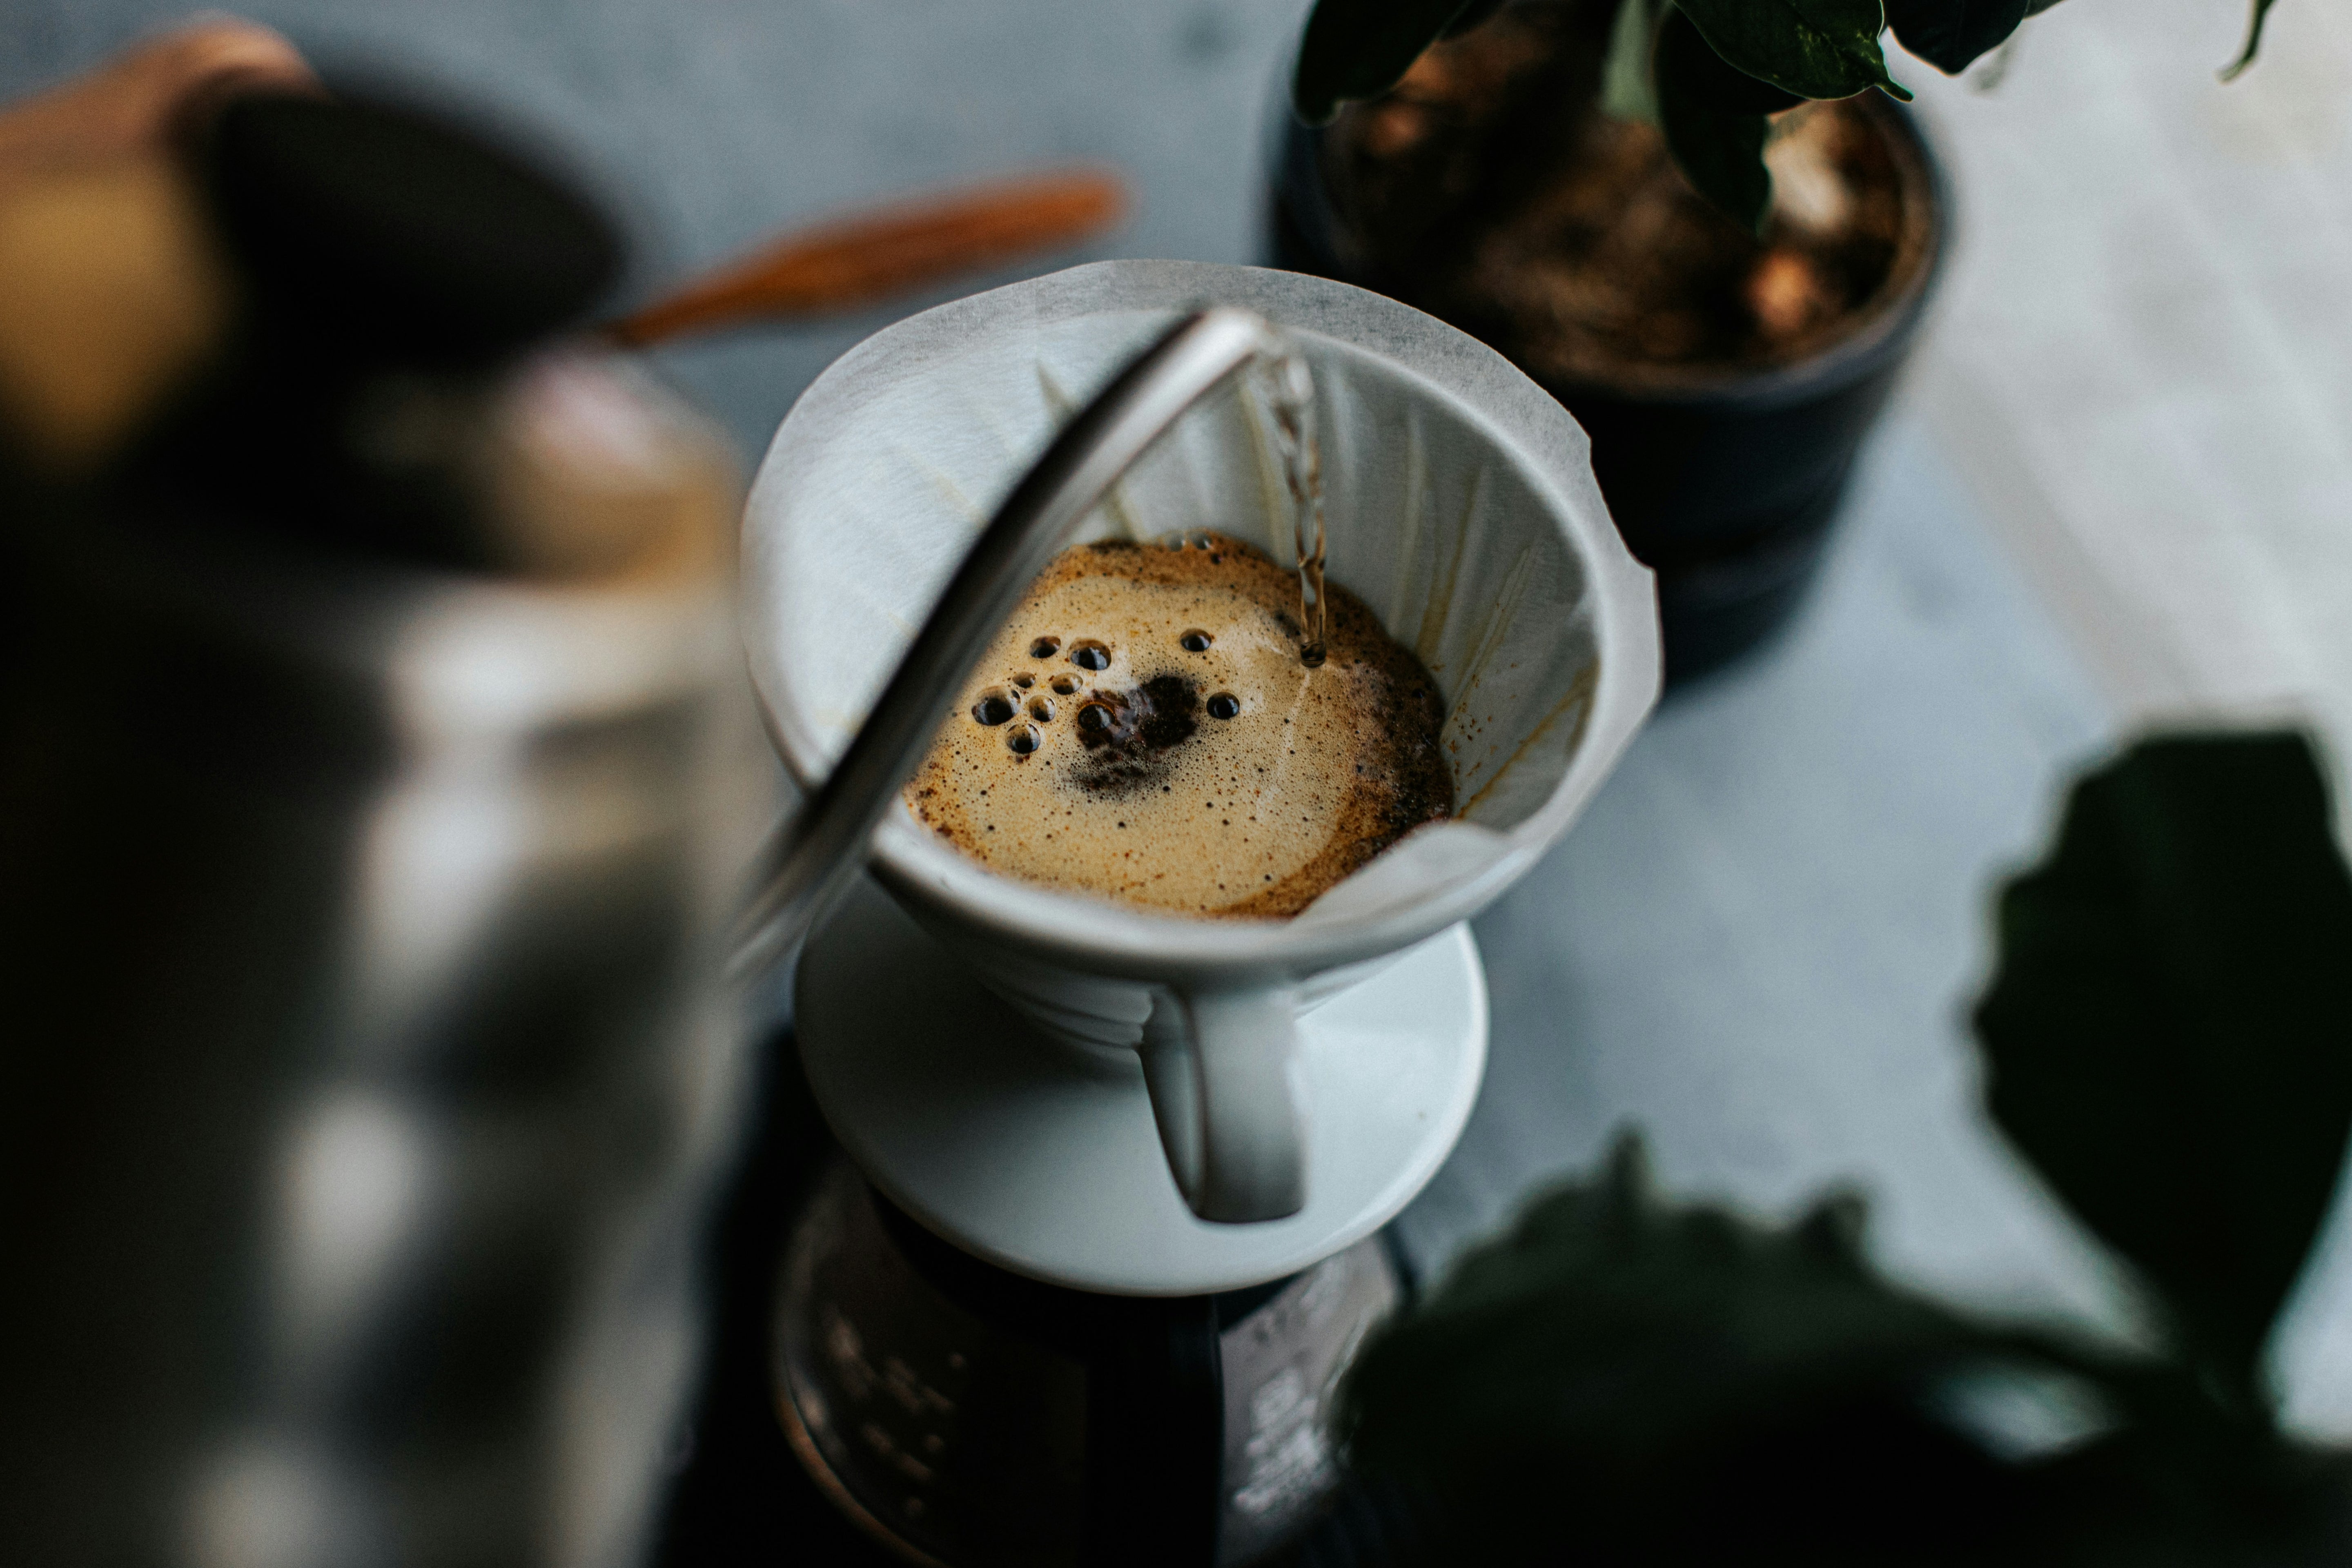
Pour-over brewing—especially with brewers like the Hario V60—is all about clarity, control, and a hands-on coffee experience. By manually pouring hot water over coffee grounds in a circular motion, you control the speed and saturation, resulting in a clean, bright cup that lets each origin's nuance shine.
Pour-Over Fundamentals
Equipment
- Pour-over brewer (like Hario V60)
- Filter (paper or metal, depending on brewer)
- Gooseneck kettle
- Digital scale (0.1g accuracy recommended)
- Timer
- Spoon or stirring stick
- Mug or carafe
OPTIONAL:
- Burr grinder (if grinding whole beans)
- Thermometer (for accurate water temperature if your kettle doesn’t have one)
Brew Ratio
- Mild: 1:18 coffee-to-water ratio
- Average: 1:16 coffee-to-water ratio
- Strong: 1:15 coffee-to-water ratio
- Robust: 1:13 coffee-to-water ratio
- Adjust to taste for more strength or clarity
NOTE: When it comes to water, 1 milliliter (mL) = 1 gram (g)—so measuring by volume or weight will give you the same result!
Grind Size
- Ideal Grind: Medium-fine ground (similar to table salt)
- Too fine will result in a slow drip and a bitter brew; too coarse will underextract and can lead to a weak brew
Water Temp
- Ideal Range: 195°F to 205°F (90.5°C to 96°C)
- Let boiling water sit for 30 seconds before pouring if not using a thermometer
Step #1
Prep & Rinse
A little prep goes a long way in ensuring a flavorful, clean-tasting cup.
Substeps:
- PLACE FILTER IN BREWER: Set your filter in the pour-over cone.
- RINSE WITH HOT WATER: Pour hot water through to rinse paper taste and preheat vessel. Discard the rinse water.
- GRIND BEANS (IF APPLICABLE): If you're grinding at home, use a burr grinder set to a medium-fine setting. The texture should resemble table salt. If using pre-ground coffee, ensure it’s labeled medium grind for pour-over brewing.
- WEIGH YOUR COFFEE: Use 20g of coffee as a great starting point—adjust up or down to suit your taste or batch size.
Useful Tips:
- Rinsing helps the filter adhere and removes paper flavor.
- Always preheat your brewer and mug to avoid temperature loss.
- Use fresh, filtered water for best flavor.
Relevant FAQs
Can I skip rinsing the filter?
It’s not recommended—rinsing improves flavor significantly and maintains temperature stability.
What if I don’t have a gooseneck kettle?
You can still pour manually—just go slowly and with control.
Can I pre-grind my coffee?
Yes, but grind right before brewing for peak freshness and clarity.

Step #2
Bloom & Pour
This is where the magic happens—precision pouring brings out the best.
Substeps:
- POSITION YOUR SCALE: Place your scale under your pour-over brewer so you can track your water weight as you pour. This ensures accuracy and consistency in your brew.
- START THE TIMER & BLOOM: Pour just enough water (about 40–50g) to saturate the grounds. Let it bloom for 30–45 seconds.
- POUR IN CIRCLES: Slowly pour remaining water in controlled spirals until you reach your total weight.
- AVOID WALLS & OVERFLOW: Keep water off filter walls to avoid bypassing the grounds.
Useful Tips:
- The bloom releases trapped CO₂, helping extraction.
- Pour gently and steadily to maintain even extraction.
- Aim for a total brew time of 2.5 to 3.5 minutes.
Relevant FAQs
What’s the bloom & why does it matter?
It’s the degassing stage—releasing CO₂ allows water to saturate evenly.
Why is my pour-over too slow?
Likely too fine a grind or overpouring. Try coarsening the grind.
Can I pour all the water at once?
It’s better to pour in stages—this maintains control and clarity.

Step #3
Serve & Adjust
You’ve brewed a clean cup—now sip and tweak for next time.
Substeps:
- REMOVE THE FILTER & GROUNDS: Let the water fully drain, then discard the filter.
- SWIRL & SERVE: Swirl the brewed coffee to mix layers before pouring.
- TASTE & NOTE: Adjust grind, ratio, or pour next time to match your preference.
Useful Tips:
- Take notes—it helps perfect your personal recipe.
- Swirling evens the cup for a consistent flavor.
- Pair with a light breakfast or pastry for a balanced experience.
Relevant FAQs
Can I reuse the filter?
Paper filters are single-use. Metal filters can be reused with proper cleaning.
What if it tastes bitter or sour?
Bitter = overextracted (too fine, too long); Sour = underextracted (too coarse, too fast).
How do I make it stronger?
Use more coffee or less water—adjust the brew ratio.
Perfect Picks for Pour-Over


Still Have Questions?
Don’t worry—we’re here to help! If something’s not quite clicking or you’re just looking for extra brewing clarity, our Brew Crew is just a message away.


