


✦ Brew Espresso Like a Pro ✦
How To Brew Espresso
MASTER THE ART OF ESPRESSO AT HOME

The Espresso Lowdown
Espresso may have a reputation for being finicky, but it doesn’t have to be! With a few thoughtful steps, the right tools, and a bit of practice, you’ll find that pulling smooth, café-quality shots at home is easier—and more enjoyable—than you might think.
Espresso Fundamentals

Equipment
- Espresso machine
- Portafilter (single or double)
- Tamper
- Distribution tool (WDT or similar for even grounds)
- Shot glass or small cup
- Scale (0.1g accuracy recommended)
- Cleaning cloth
OPTIONAL:
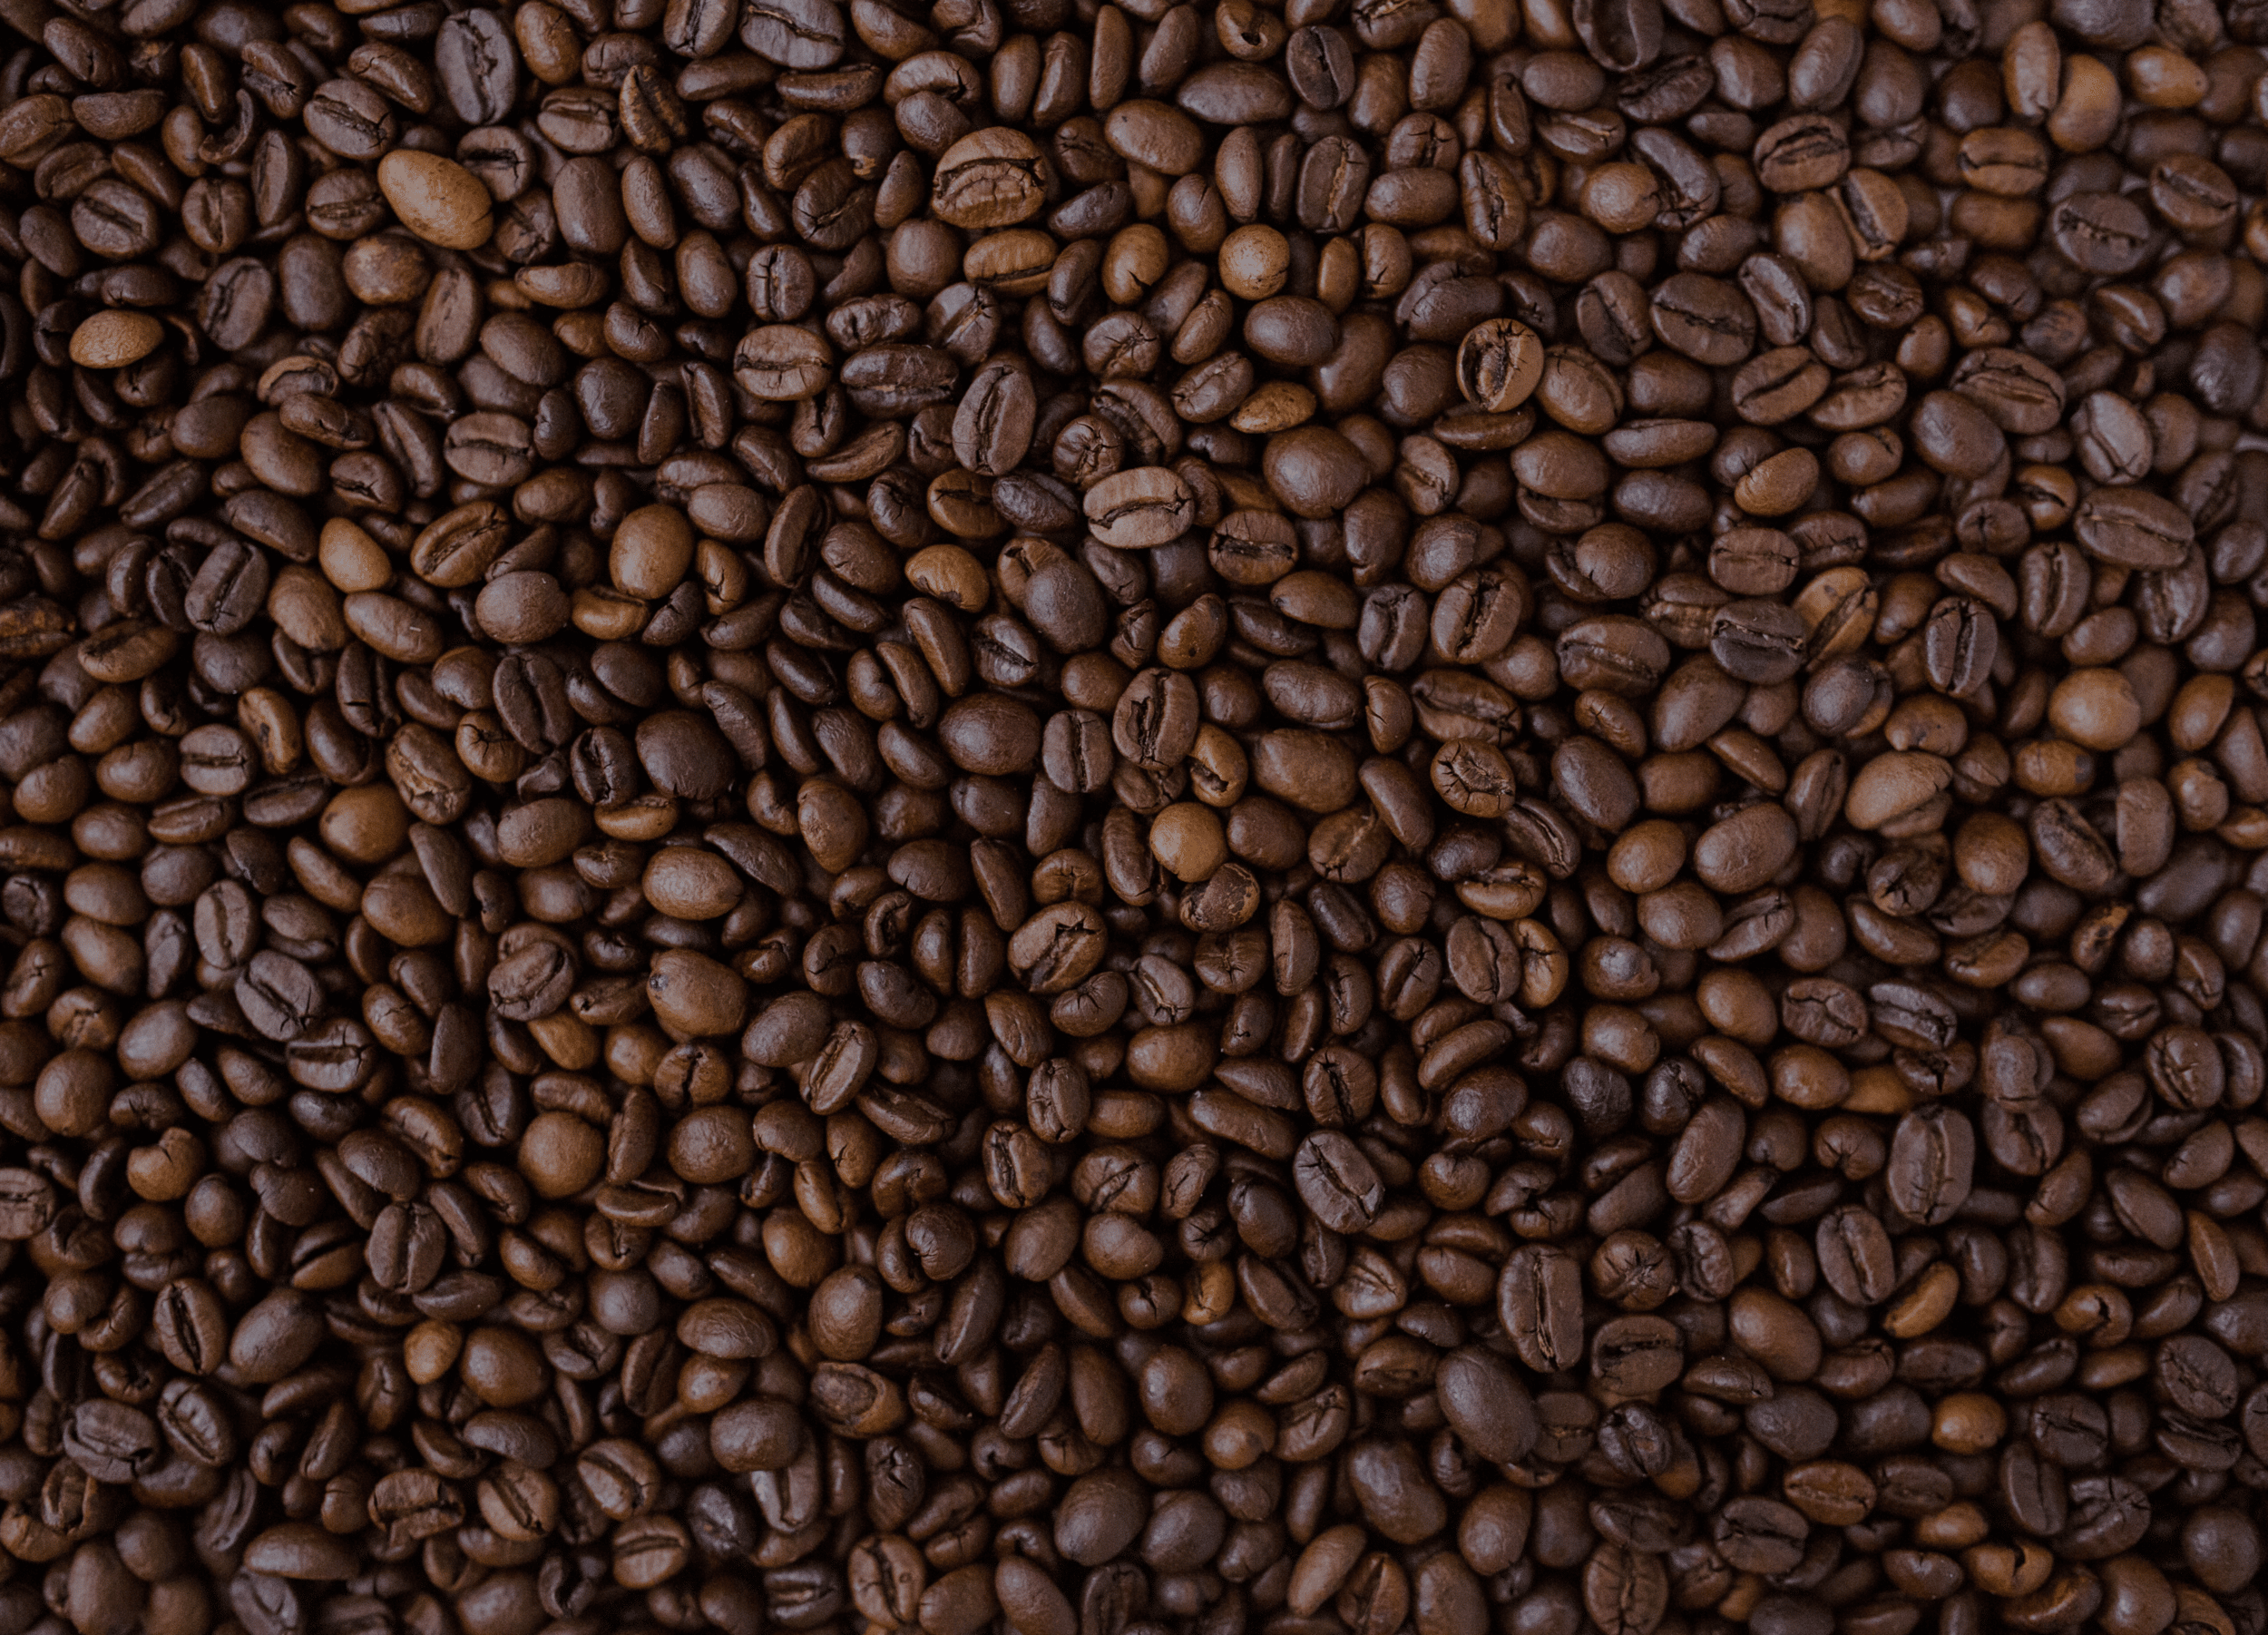
- Espresso-capable burr grinder (if grinding whole beans)
- Knock box

Brew Ratio
- Diluted: 1:3 coffee-to-water ratio ("Lungo")
- Bold: 1:2.5 coffee-to-water ratio
- Standard: 1:2 coffee-to-water ratio ("Normale")
- Concentrated: 1:1.5 coffee-to-water ratio
- Intense: 1:1 coffee-to-water ratio ("Ristretto")
NOTE: When it comes to water, 1 milliliter (mL) = 1 gram (g)—so measuring by volume or weight will give you the same result!

Grind Size
- Ideal Grind: Fine ground (similar to table salt or powdered sugar)
- To be adjusted based on shot time & flavor

Water Temp
- Ideal Range: 195°F to 205°F (90.5°C to 96°C)
- Most machines are preset—just ensure the machine is fully warmed up
Step #1
Heat Up & Prep Your Gear
Before you pull a single shot, your machine needs to reach proper brewing temperature—and that starts with the group head. The group head is the component that connects your portafilter to the hot water line, serving as the entry point where water meets the coffee grounds inside the basket. This step sets the foundation for temperature stability and better flavor.
Substeps:
- PREHEAT THE MACHINE: Turn on your espresso machine and let it fully heat up (usually 15–30 minutes).
- WARM THE PORTAFILTER: Insert your portafilter into the group head while the machine warms to help preheat it.
- FLUSH & PREHEAT THE CUP: Run a shot of hot water through the group head to flush it and preheat your cup.
- CLEAN YOUR TOOLS: Ensure all equipment (portafilter, basket, tamper, etc.) is clean and dry.
Useful Tips:
- A stable temperature is crucial for espresso—preheating everything helps.
- Use a clean, dry towel to wipe your portafilter basket before dosing.
- If your machine has a cup warmer tray, place your cup there during warm-up.
- Always start with fresh, filtered water for better taste and machine longevity.
Relevant FAQs
What is a portafilter?
A portafilter is the handled tool that holds your coffee grounds during brewing. It locks into the espresso machine’s group head, allowing hot water to flow through the compacted coffee and extract your shot. It typically has a metal basket inside to hold the grounds.
Can I skip preheating my cup or portafilter?
It’s not required, but preheating minimizes heat loss and helps maintain shot consistency—especially with smaller drinks like espresso.
How do I know when my machine is ready?
Most machines have an indicator light or display. If not, a good rule of thumb is to wait at least 15 minutes after turning it on and ensure steam and hot water are flowing smoothly.
Can I skip preheating my cup or portafilter?
It’s not required, but preheating minimizes heat loss and helps maintain shot consistency—especially with smaller drinks like espresso!
Step #2
Dose & Grind
The right amount of coffee—and how finely you grind it—can make or break your espresso. This step is all about getting your dose dialed and your grind spot-on.
Substeps:
- MEASURE YOUR DOSE: Weigh out your coffee dose (typically 18–20g for a double shot, or 8–10g for a single shot).
- GRIND BEANS (IF APPLICABLE): If you're grinding at home, use a burr grinder set to a fine espresso grind (it should feel like table salt or powdered sugar). If you're using pre-ground coffee, make sure it's labeled for espresso to ensure proper extraction!
- COLLECT YOUR GROUNDS: If you're grinding at home, grind directly into your portafilter or dosing cup. If you're using pre-ground coffee, simply scoop the appropriate amount into your portafilter for dosing.
- DISTRIBUTE EVENLY: Use a distribution tool or finger swipe to evenly level the grounds.
Useful Tips:
- Always weigh your dose for accuracy—eyeballing leads to inconsistency.
- Use a WDT (Weiss Distribution Tool) to break up clumps and improve evenness.
- Use freshly roasted beans (within 2–4 weeks of roast) for optimal flavor.
- Store beans in an airtight container away from heat and light.
Relevant FAQs
My shot tastes off... Is my grind the problem?
Possibly! If it runs too fast or tastes sour, grind finer. If it’s slow or bitter, grind coarser. Grind size is the #1 variable to troubleshoot.
Do I need a fancy grinder for espresso?
A burr grinder is essential for consistency, but it doesn’t have to be expensive! Entry-level electric burr grinders or hand grinders designed for espresso are great options.
How much coffee should I use if I want a single shot?
A single shot usually uses 8–10g of coffee and yields about 18–20g of espresso, but double shots are more common for better flavor and balance.
Step #3
Tamp & Lock In
Tamping evenly ensures water flows smoothly through your coffee. This step helps avoid weak or over-extracted shots by creating a level and consistent puck.
Substeps:
- TAMP WITH CONSISTENCY: Hold the portafilter flat and apply firm, even pressure with your tamper (~30 lbs).
- LEVEL YOUR TAMP: Ensure the tamp is level—don’t tilt.
- CLEAN THE BASKET RIM: Wipe the edges of the basket clean.
- LOCK IN THE PORTAFILTER: Insert and lock the portafilter into the machine securely.
Useful Tips:
- Consistency matters more than tamp strength—focus on uniformity.
- Avoid twisting the tamper or tapping the portafilter, which can cause uneven channels.
- Practice tamping on a bathroom scale to get a feel for the right pressure.
- Keep your elbow at 90 degrees for proper tamping posture.
Relevant FAQs
Do I need a calibrated tamper?
It helps, but it’s not necessary. What matters most is consistent, level tamping.
What if I tamp too hard or too soft?
Too soft may lead to under-extraction; too hard can cause over-extraction or channeling. Aim for consistency over force.
Why is my espresso puck soggy or uneven?
It could be due to uneven tamping, an unlevel distribution, or grind inconsistency. Try using a distribution tool before tamping.
What is an espresso puck?
The puck is the compacted bed of coffee grounds left in the portafilter after you pull a shot. It gets its name from its shape—flat, round, and solid—much like a hockey puck. A good puck should be firm and uniform, indicating an even extraction. A soupy or cracked puck can point to distribution or tamping issues. A good puck should be firm and uniform, indicating an even extraction. A soupy or cracked puck can point to distribution or tamping issues., an unlevel distribution, or grind inconsistency.
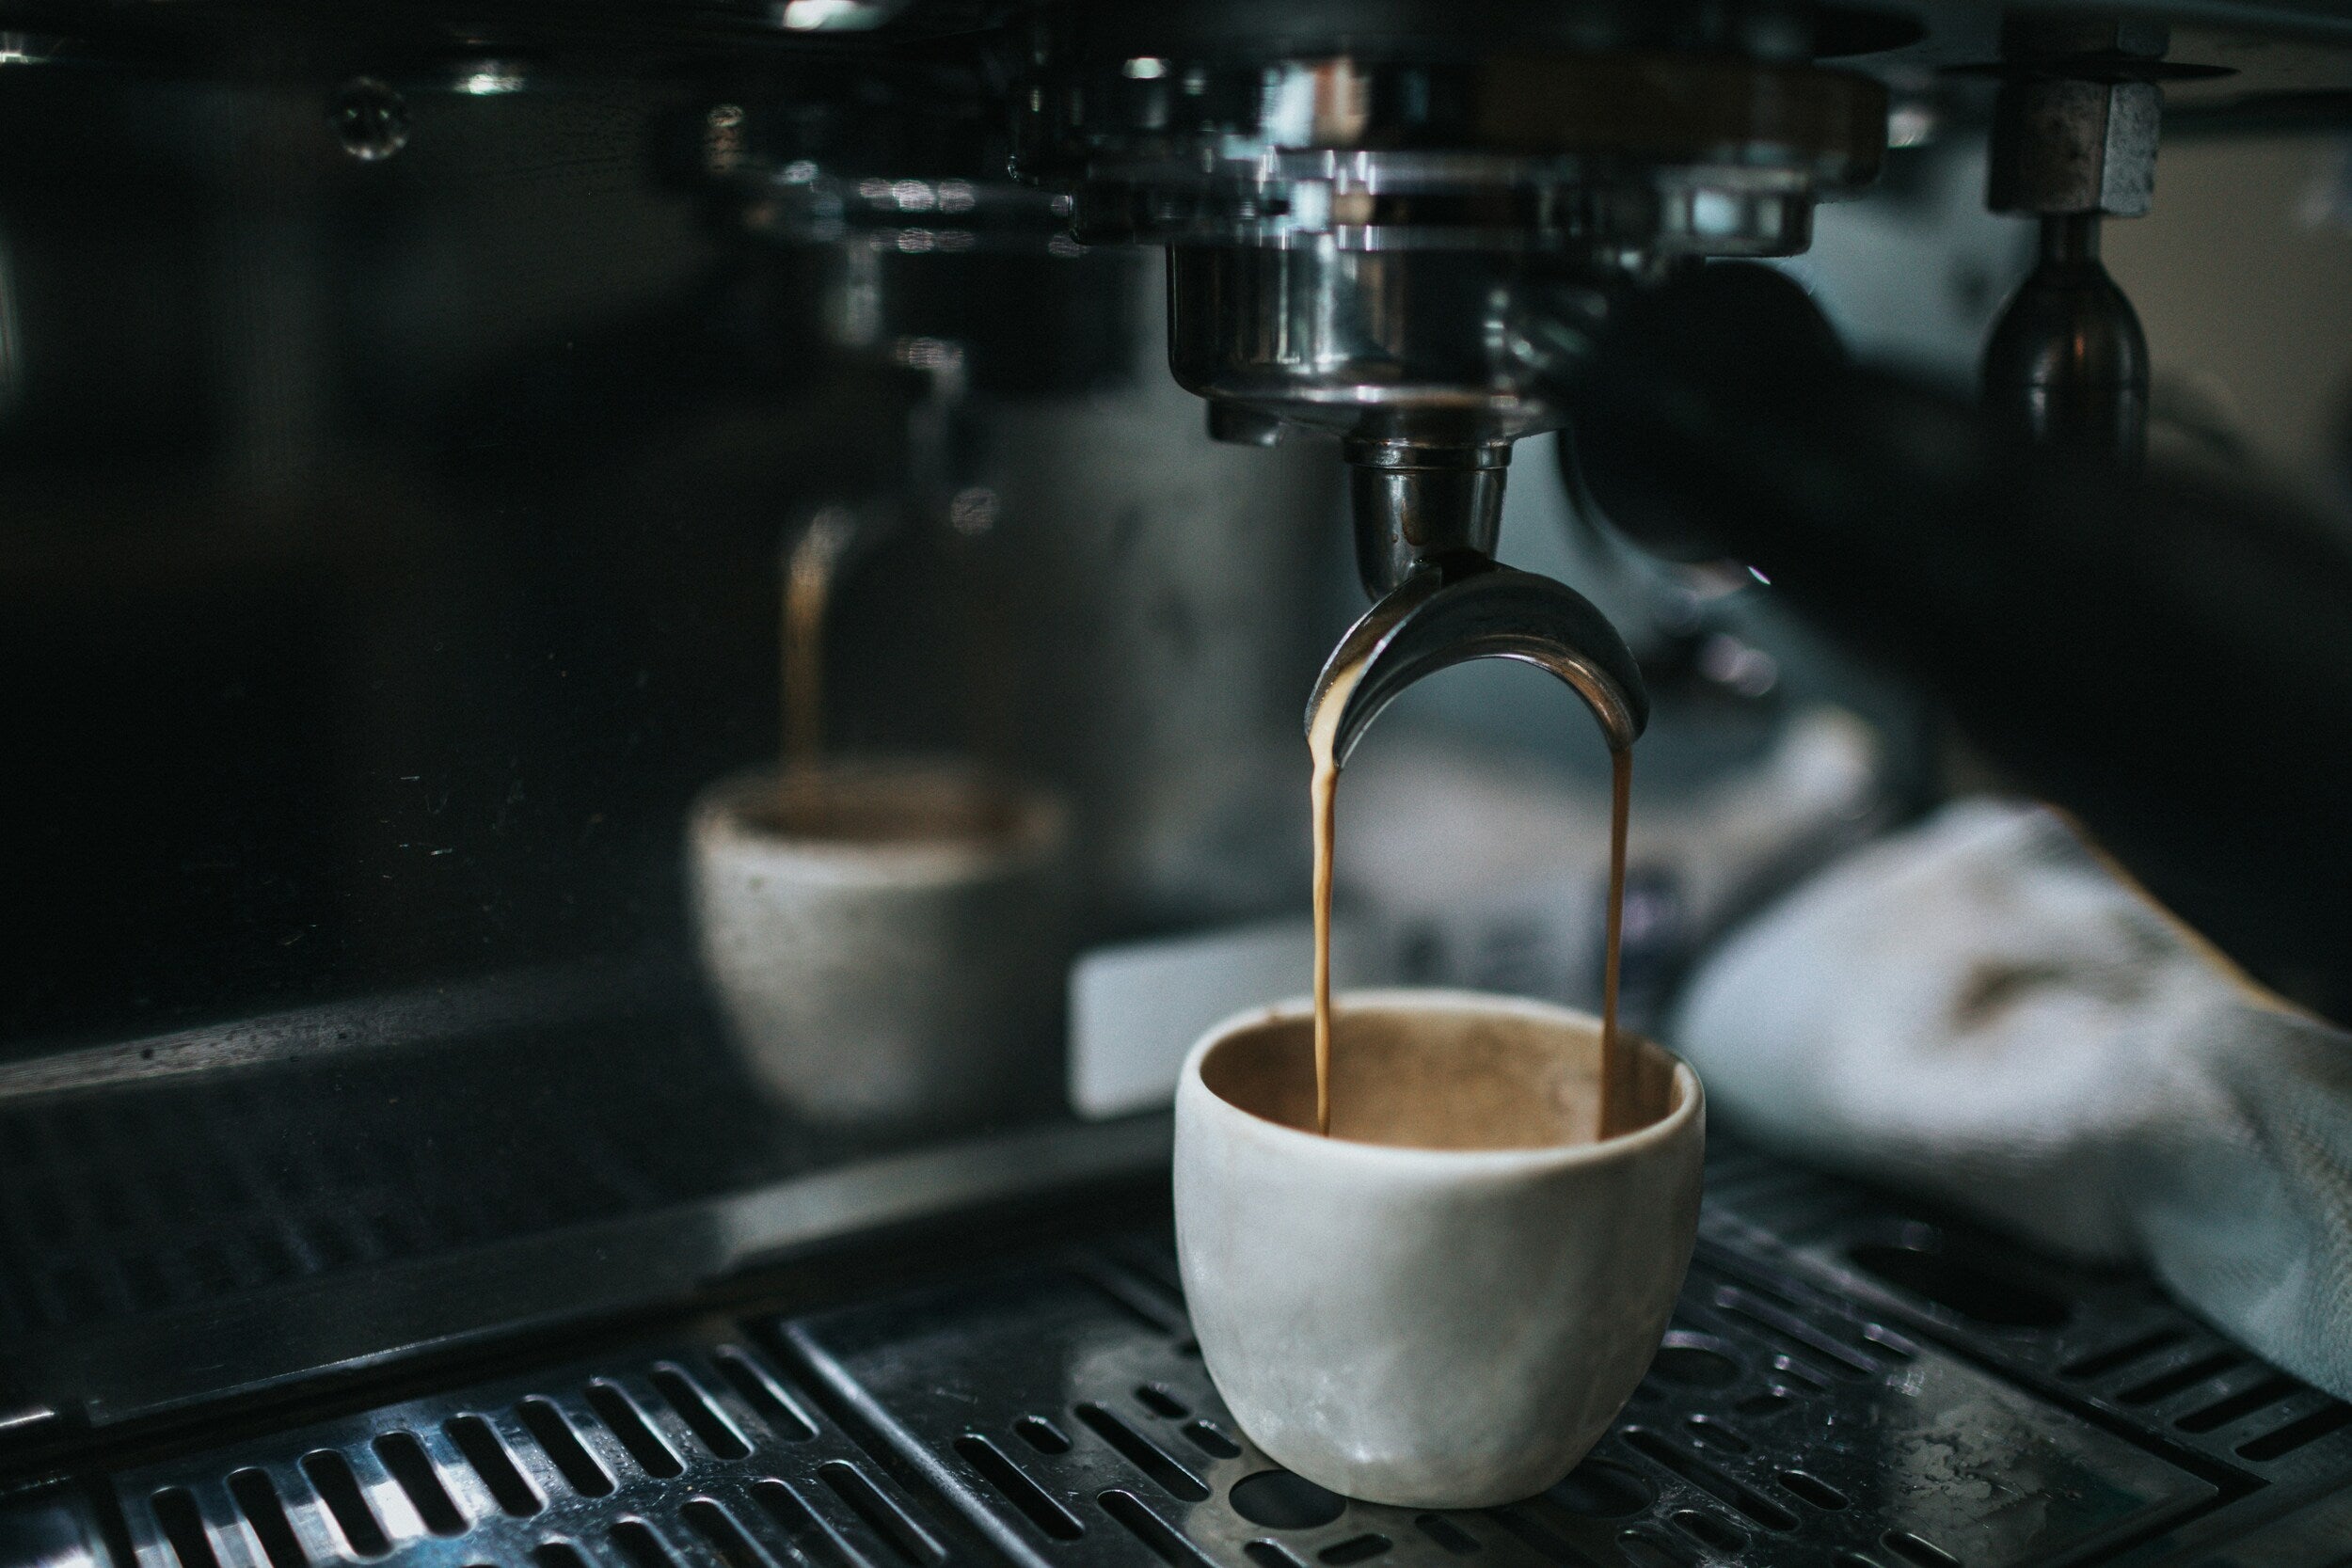
Step #4
Pull the Shot
Here’s where everything comes together. Timing, technique, and observation are key to hitting the sweet spot and pulling a rich, flavorful espresso shot.
Substeps:
- START & TIME YOUR SHOT: Start the shot and begin timing immediately.
- TARGET YOUR BREW TIME: Aim for a 25–30 second extraction time (for a double shot).
- MONITOR THE FLOW: Watch for a steady stream like warm honey. Stop the shot when you reach 36–42g out.
Useful Tips:
- Time and yield matter more than volume. Use a scale to track the output.
- Good crema is a sign of fresh beans, proper pressure, and solid technique.
- If your espresso spurts or channels, revisit your distribution and tamping.
- Let your machine rest a few seconds between shots to reset temperature.
Relevant FAQs
My shot is too fast or too slow. What should I do?
Adjust your grind. Too fast = grind finer. Too slow = grind coarser. Always tweak in small increments.
What does a perfect shot look like?
It should start with a slow drip, then turn into a steady stream resembling warm honey, finishing with golden crema on top.
Can I stop the shot early or late to fix it?
Yes! If it looks like it’s going off track, it’s better to stop and adjust your grind or dose before trying again. Don’t let a bad shot run its course!
Step #5
Taste, Adjust & Tidy Up
Now it’s time to reflect, refine, and reset. Tasting your shot and maintaining your equipment help improve your skills and ensure every brew is better than the last.
Substeps:
- TASTE & EVALUATE: Taste your espresso! Note any bitterness, sourness, or balance.
- CLEAN THE PORTAFILTER: Knock out the puck and rinse your portafilter and group head.
- WIPE & PURGE: Wipe the machine and purge the steam wand if you used it.
Useful Tips:
- Keep a log of your dose, yield, and shot time—it’ll help you improve.
- Clean immediately to prevent buildup and preserve flavor.
- Let your machine cool before wiping down metal surfaces.
- Empty the drip tray and refill the water tank if needed.
Relevant FAQs
How often should I deep clean my espresso machine?
Backflush with water daily and use cleaning tablets weekly (or per your machine’s guidance). Regular cleaning keeps your machine running smoothly and your shots tasting fresh.
What if my espresso still tastes off after following all the steps?
Try switching variables one at a time—change the grind, adjust your dose, or try a different bean. Flavor can be affected by freshness, water, and technique.
Can I reuse the puck or grounds?
No. Spent coffee grounds have already released their soluble flavors. Reuse them in compost or as a natural deodorizer, but not for brewing again.
Handy Tools